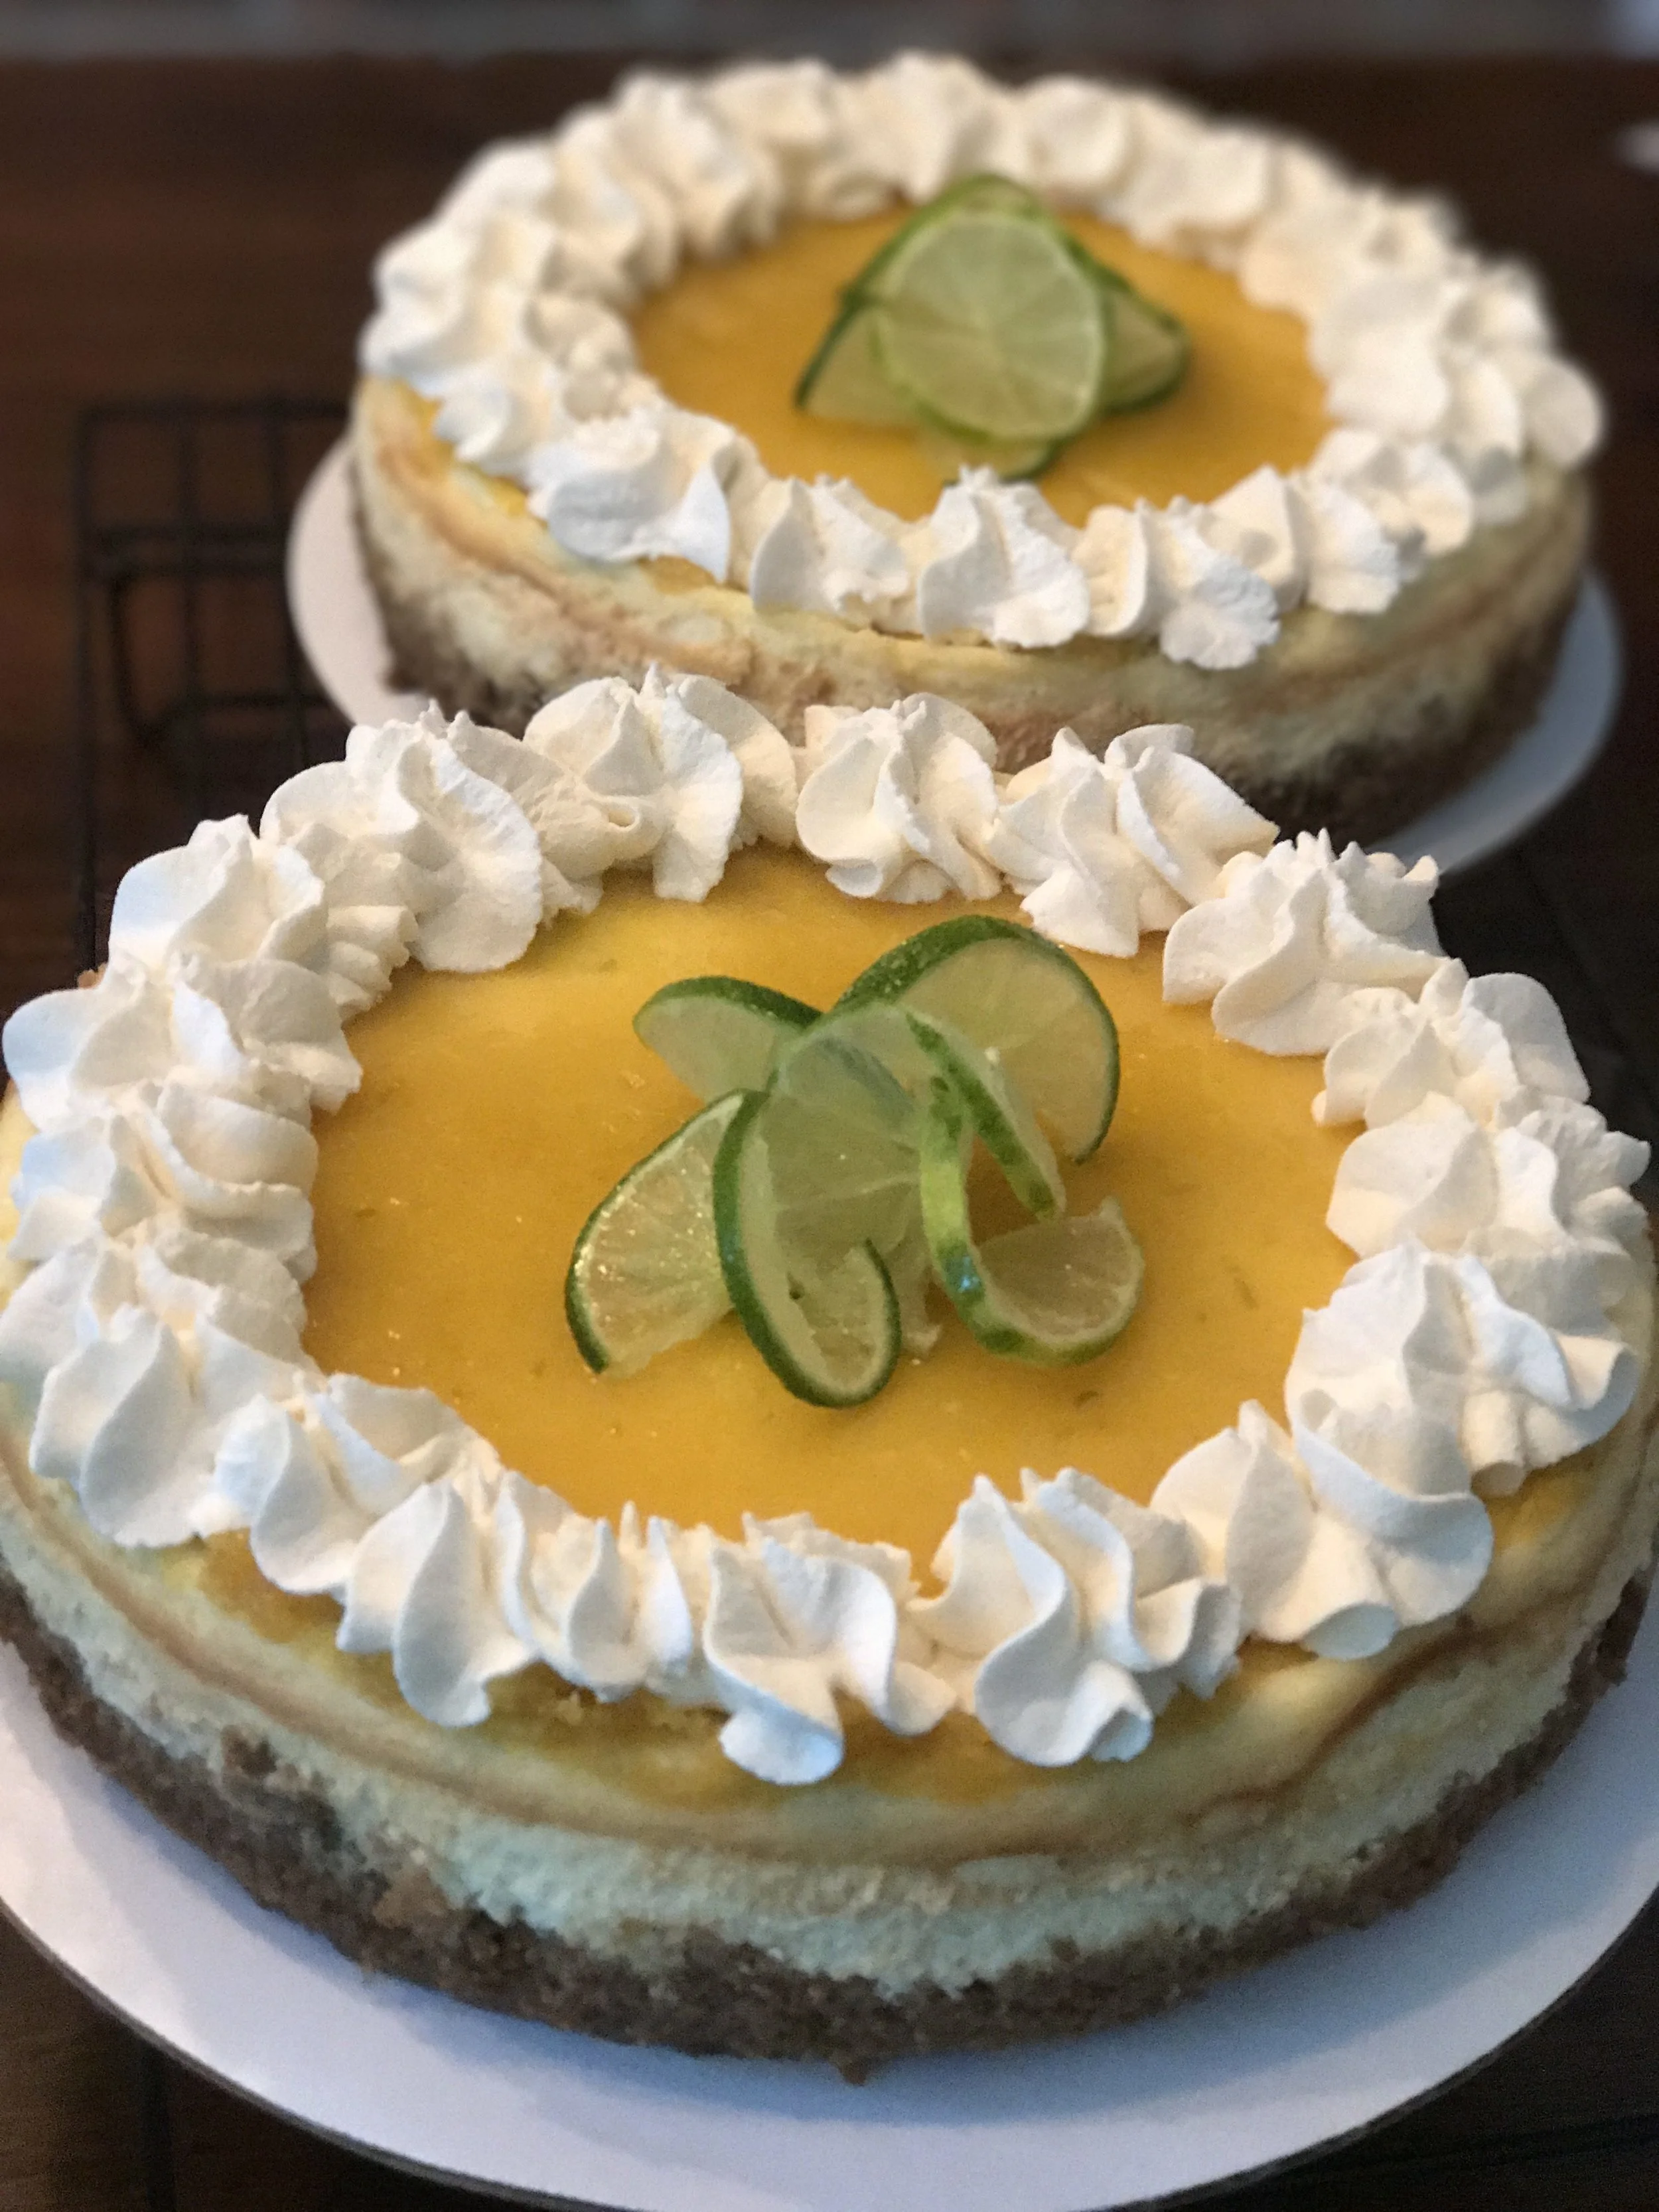
Key Lime Cheesecake
Sometimes I look back over the last 25 years and think to myself, "Boy, I've had quite the variety of jobs." I'm not ashamed. Each one has been on my journey through life to teach me one thing or another. The job circles back around is always food related. Currently, my position is CEO and Head Chef of The Bell House Catering Company. I am pretty proud of this accomplishment. It certainly beats the days working for Enterprise Rent-a-Car vacuuming out cars in a skirt suit and pantyhose. Gosh, how I hated wearing pantyhose.
Recently, it's been brought to my attention if I choose to change careers again, I may do well in marketing and website building. When I'm not in the kitchen, I'm working on my website or promoting my business. Let me be clear, I use Square Space and it's a website builder. I think it's super user friendly. It practically builds the site for you. However, I have come across folks who are truly benighted when it comes to computers. I have this extremely talented artist friend who wouldn't know a computer if it fell into her lap. (Obvious exaggeration)
If you subscribe to the recipe blog, you may remember Megan from a post we did together in Butternut Squash Soup: Pork Belly with Kelly and Vegan with Megan. Well, I've been screaming at Megan for MONTHS to get a website up and running to sell her gorgeous jewelry and sculptures online. For the last 20 years, she spends a lot of her time and money traveling to vendor shows all over the U.S. Which is good, but as a small business owner we should always look towards the future. We've spent many conversations on how to build her brand and market herself. She has a habit of posting more pictures of her cuddly kittens on social media than of her amazing work.
Several months ago we started working on her website. Keep in mind we live 8 hours away from each other and trying to teach someone how to turn on a computer from that far away without Facetime is almost near impossible. (Another over exaggeration)
FINALLY, we have her site up and running. She had a goal finish date and even though we are still in the beginning stages of putting up all her work, giving every piece the proper statement, grammar/spell checking, and setting up her online store, I am pretty proud of what we have so far. AND, Megan is actually getting the hang of the site builder.
Because I know how hard it is to start a small business and I am a big fan of, "team work makes the dream work," I am going to shamelessly steer you towards my very brilliantly talented friend's website: www.mollysmetals.com. While you're there, BUY! BUY! BUY!

KEY LIME CHEESECAKE:
Crust:
1 1/2 packages of graham crackers
1/4 cup of sugar
1/4 teaspoon of salt
1 teaspoon of cinnamon
1 stick of unsalted butter, melted
Filling:
2-8 ounce packages of cream cheese, room temperature
3 eggs
1 cup of sugar
2 cups of sour cream
1 tablespoon of key lime zest
Custard:
6 Large Egg yolks
3/4 cup granulated sugar
6 tablespoons of key lime juice
1 teaspoon of key lime zest
Preheat your oven to 350 degrees.
Start with the crust. In a food processor, pulverize all the dry ingredients together then slowly pour in the melted butter.
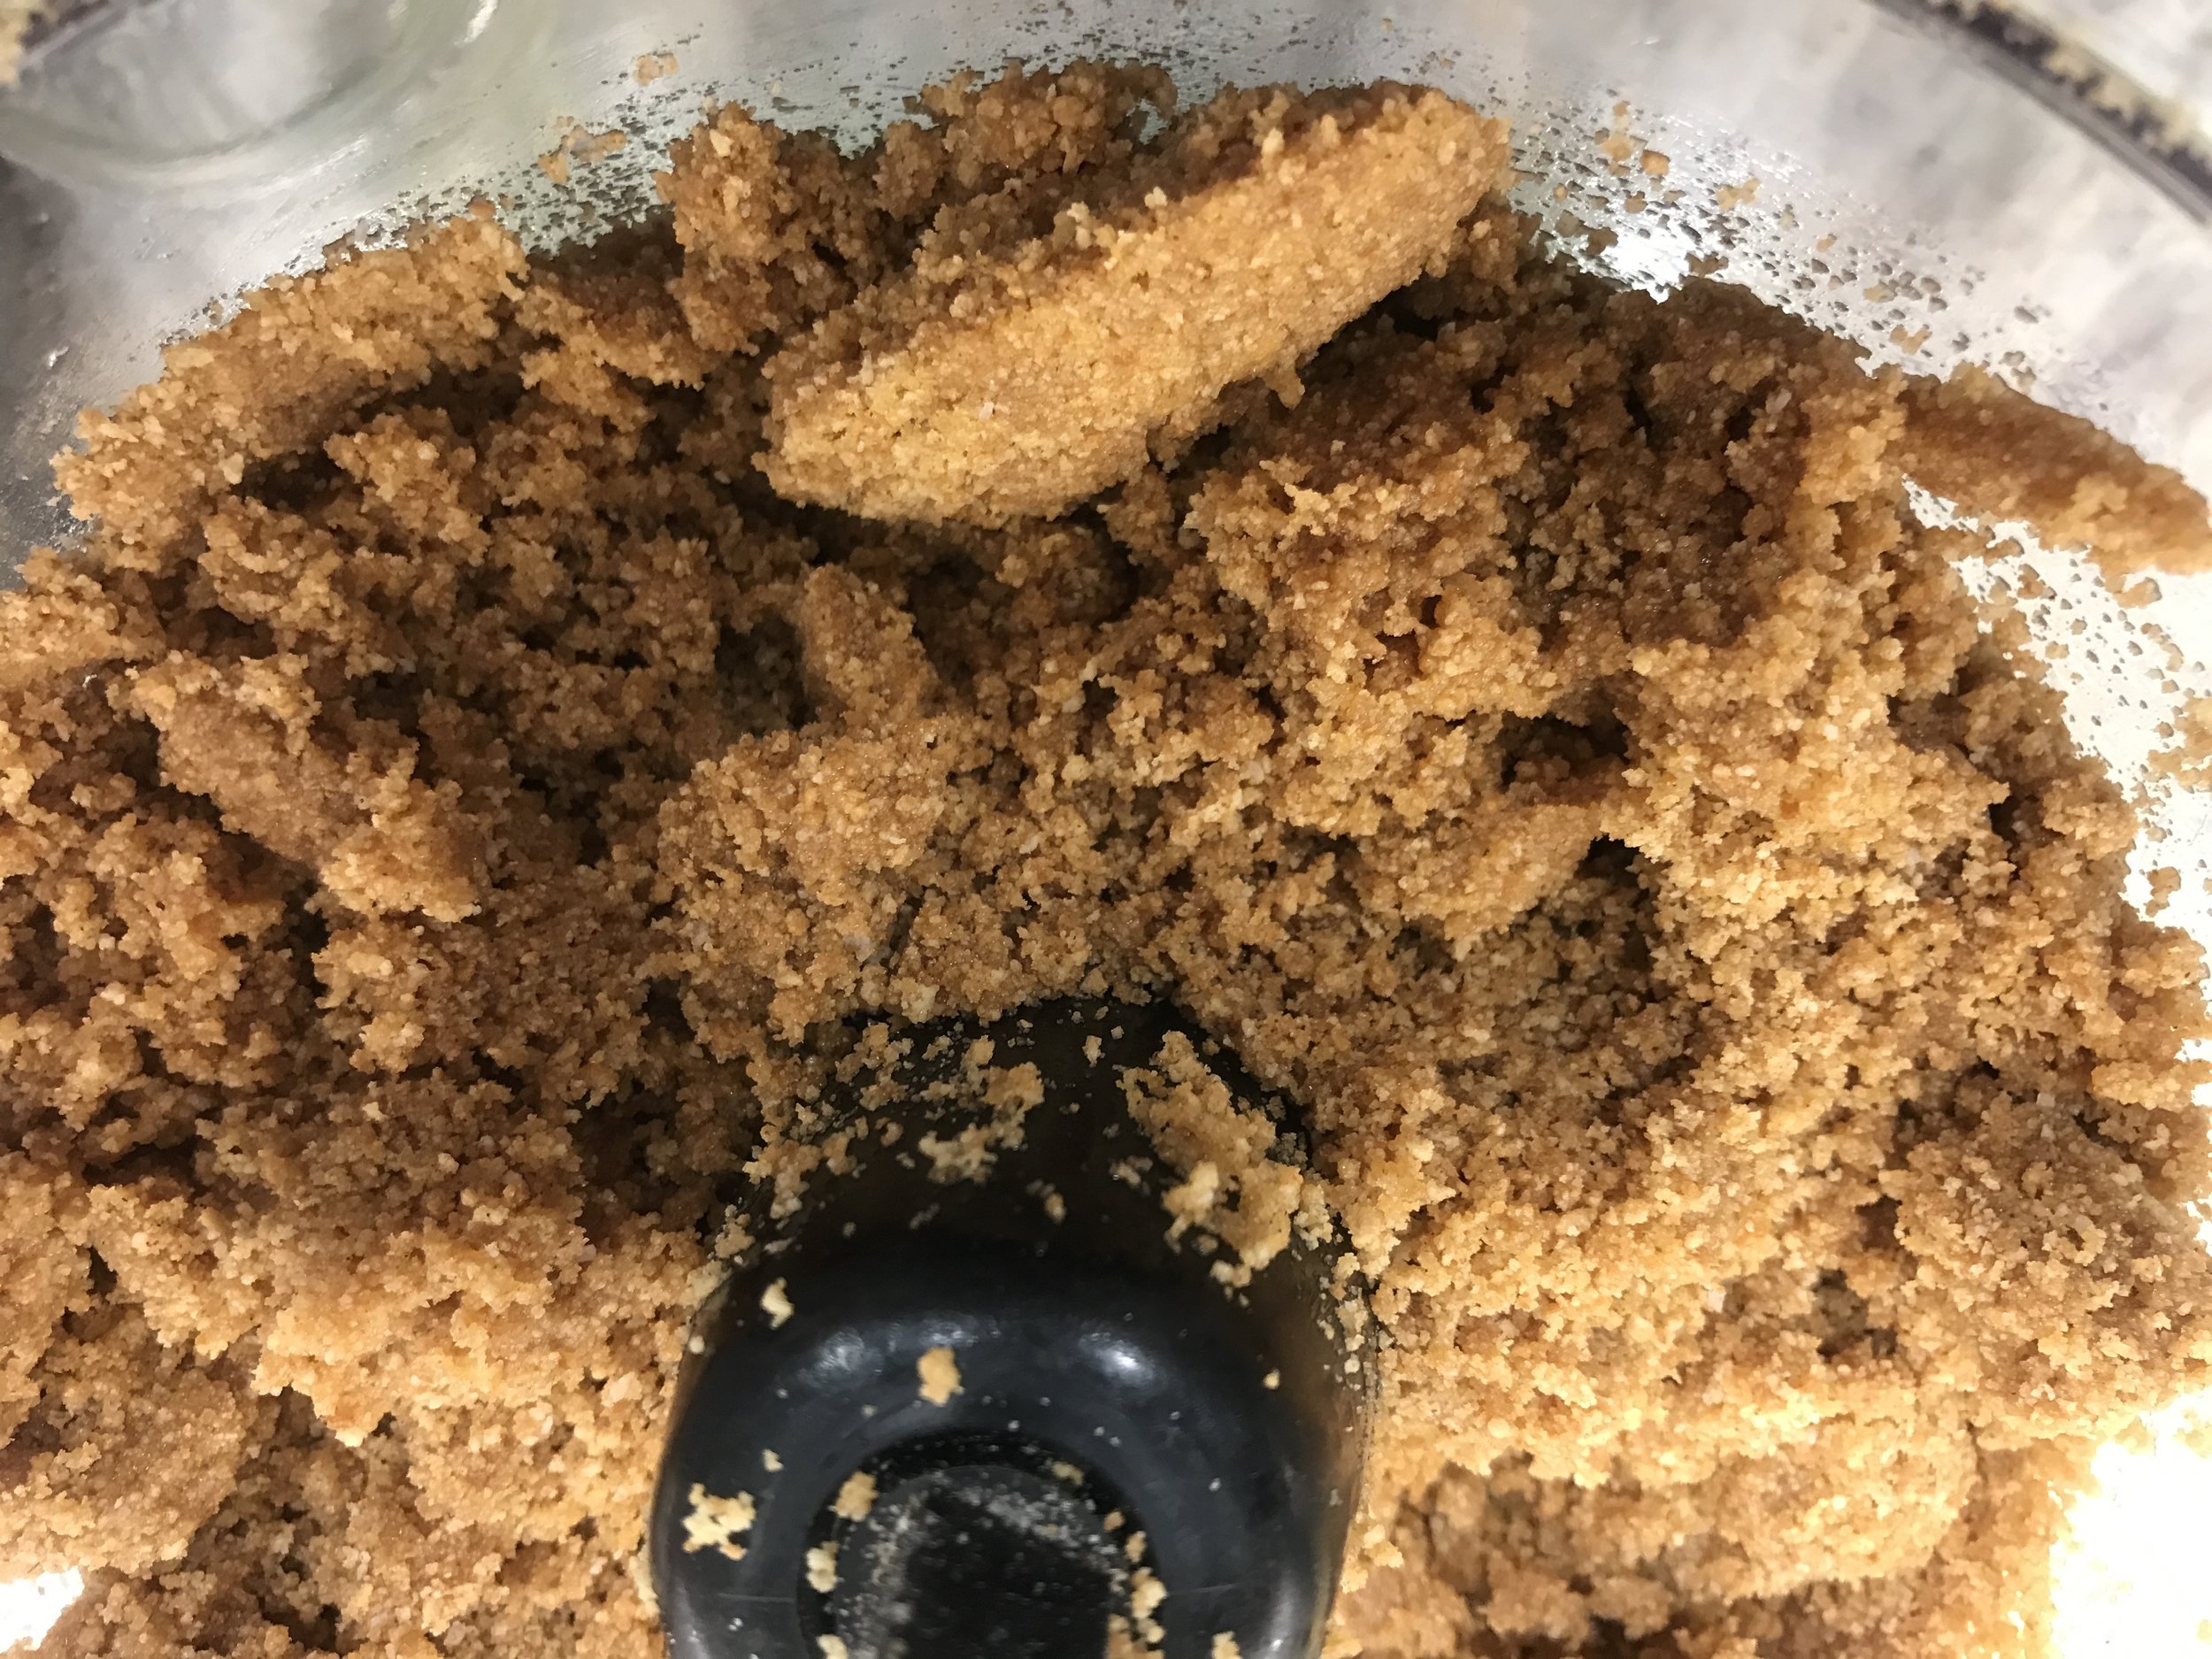
Spray a 9 or 10 inch spring form pan with nonstick cooking spray. Dump the butter soaked crumbs into the pan and spread evenly. Use a cup to pack down the crumbs.

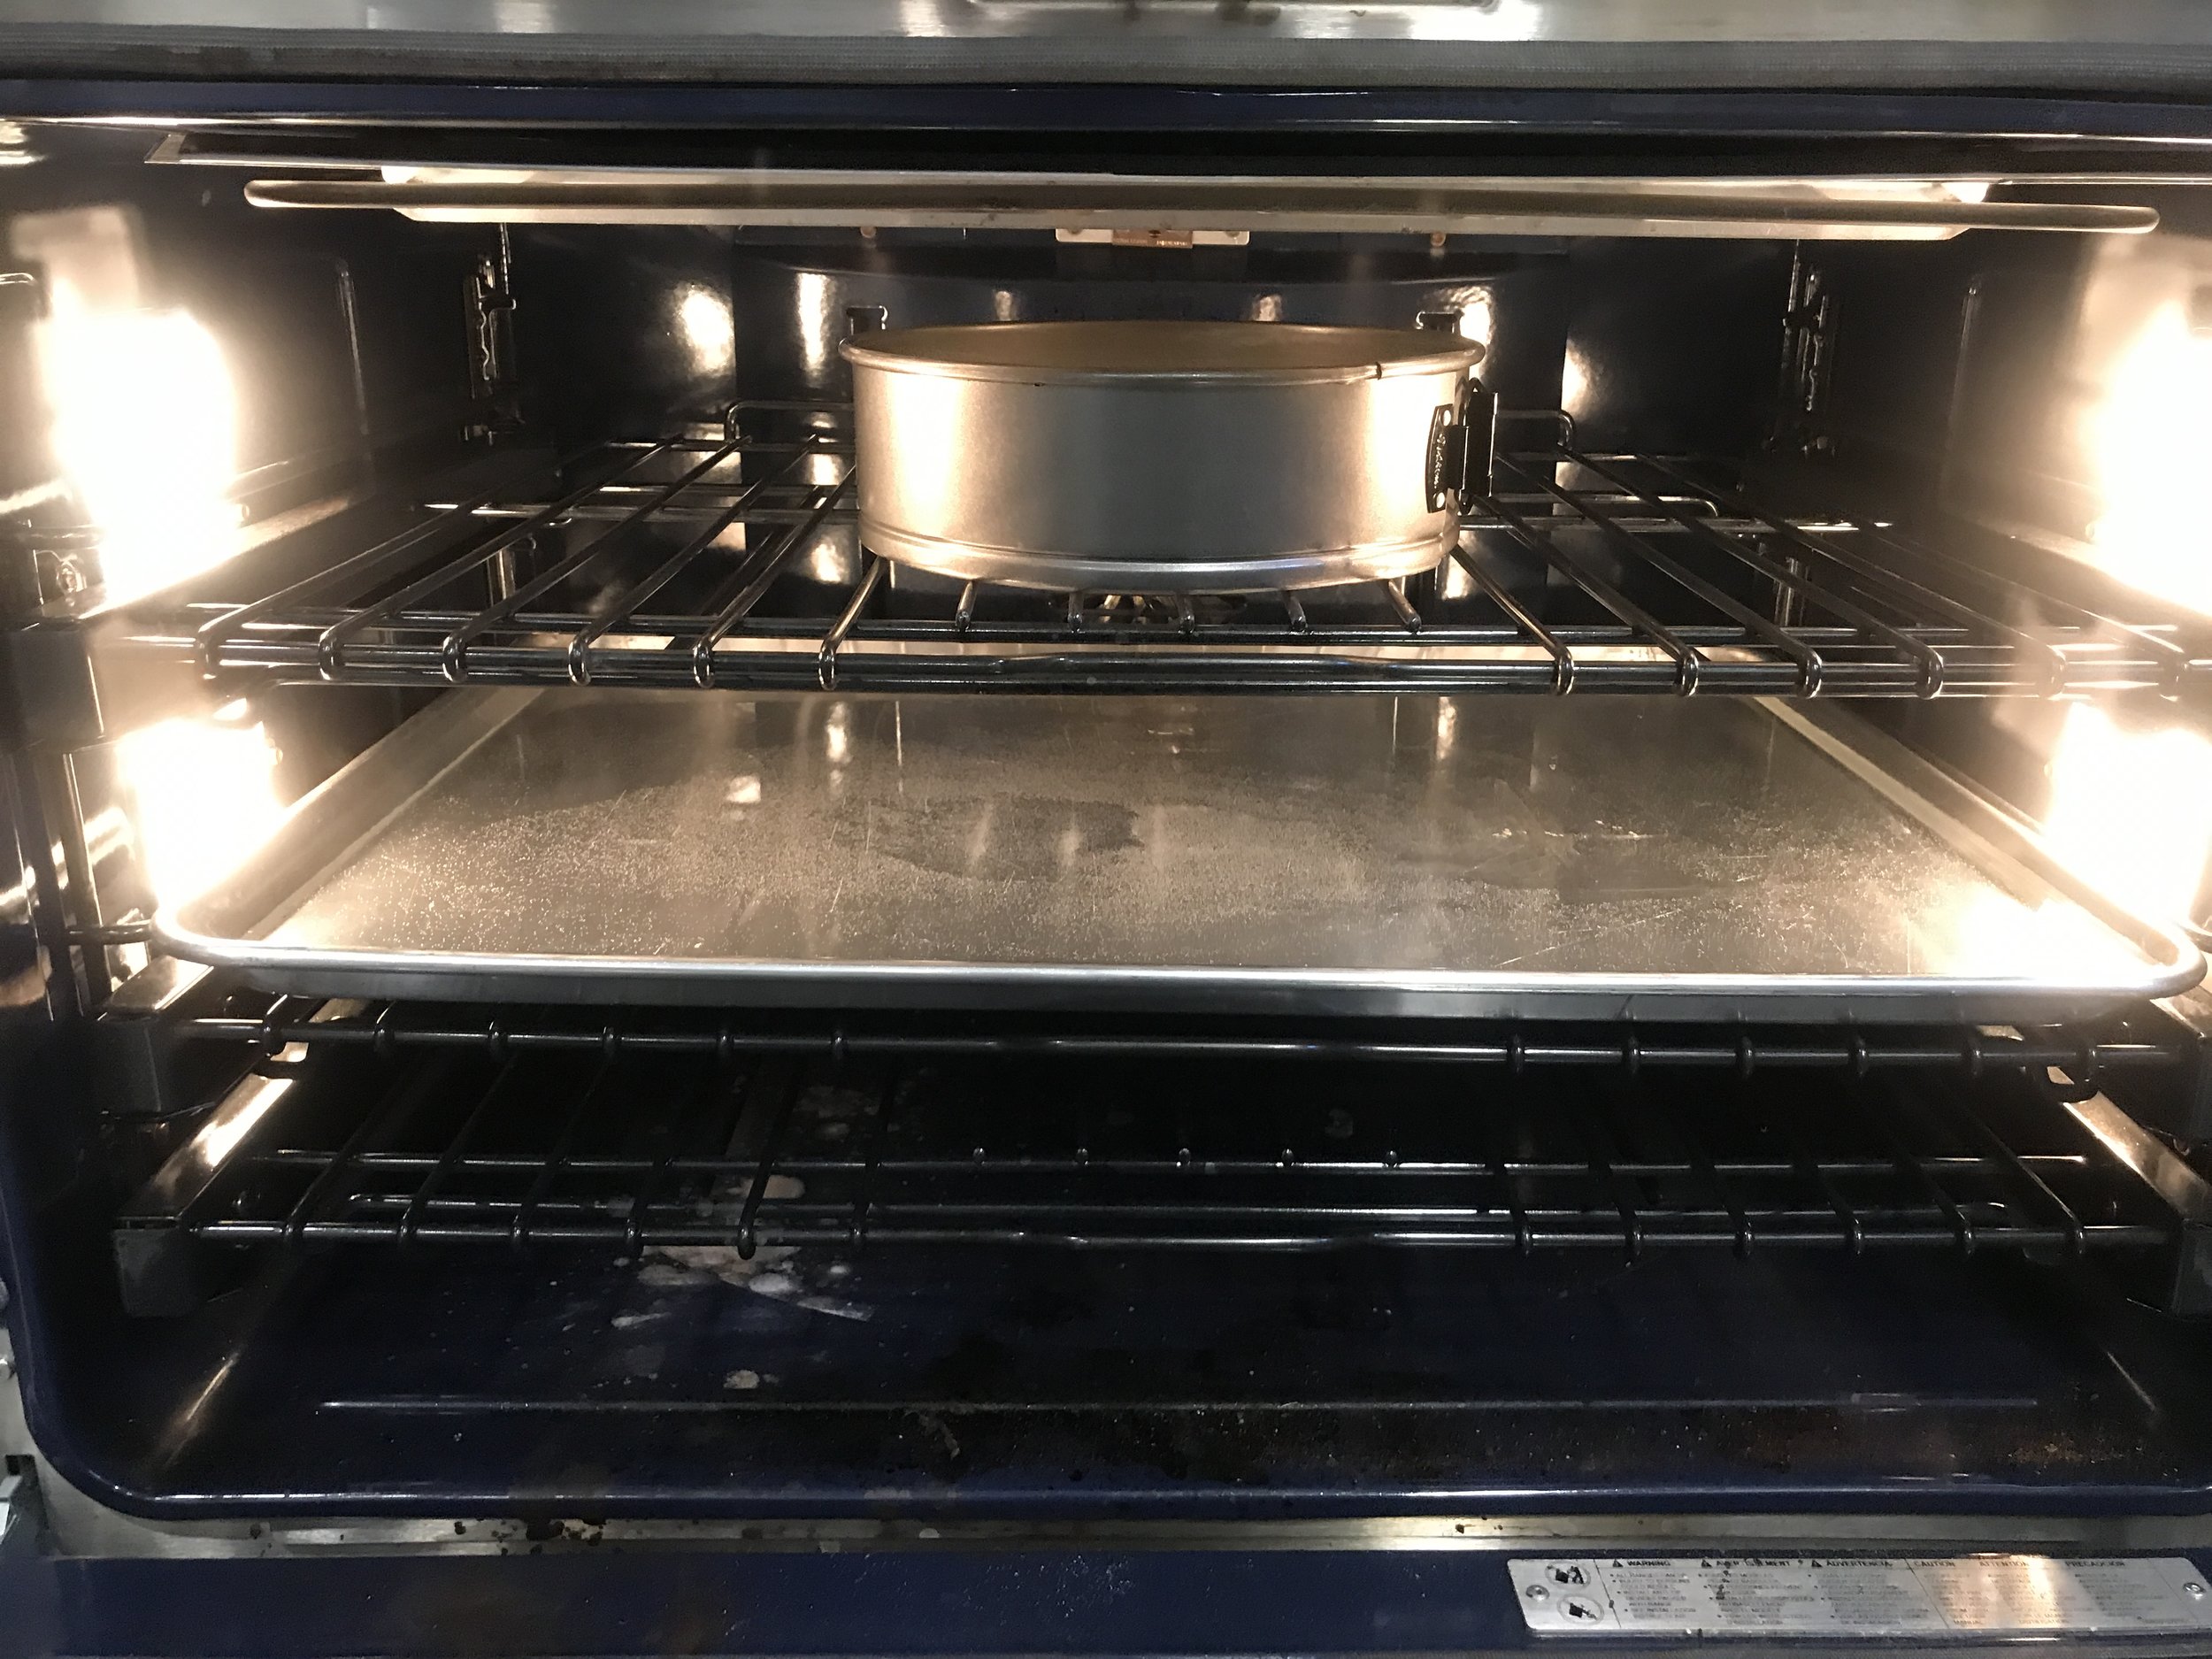
Bake the crust for 10 minutes in a 350 degree oven. When the crust is done, turn the oven down to 300-325.

Notice I'm not being specific about the temperature. Well, before I got my new range, I would bake my cheesecakes at 325 degrees. They came out perfect every time. When I tried making cheesecakes in my new oven, the first four that I made all had deep crevices in them. Then the light bulb in my head went off, .
My mother-in-law will tell you the cheesecake isn't done unless there is a crack in it. I am a bit more of a perfectionist. After the fourth flub bub, I realized I should probably turn my oven down. I highly suggest an oven thermometer too. They are relatively inexpensive and will save your baked goods. The temperature gage on the outside of an oven is not always reliable.
Place a baking sheet or casserole dish filled with water on the rack below where you will cook the cheesecake. I don't like water baths for cheesecakes, but I do like a moist environment.
Back to the cheesecake. Next up, the filling. Get all your ingredients measured out and ready to go. It's good to practice "mise en place." French term for everything in its place.
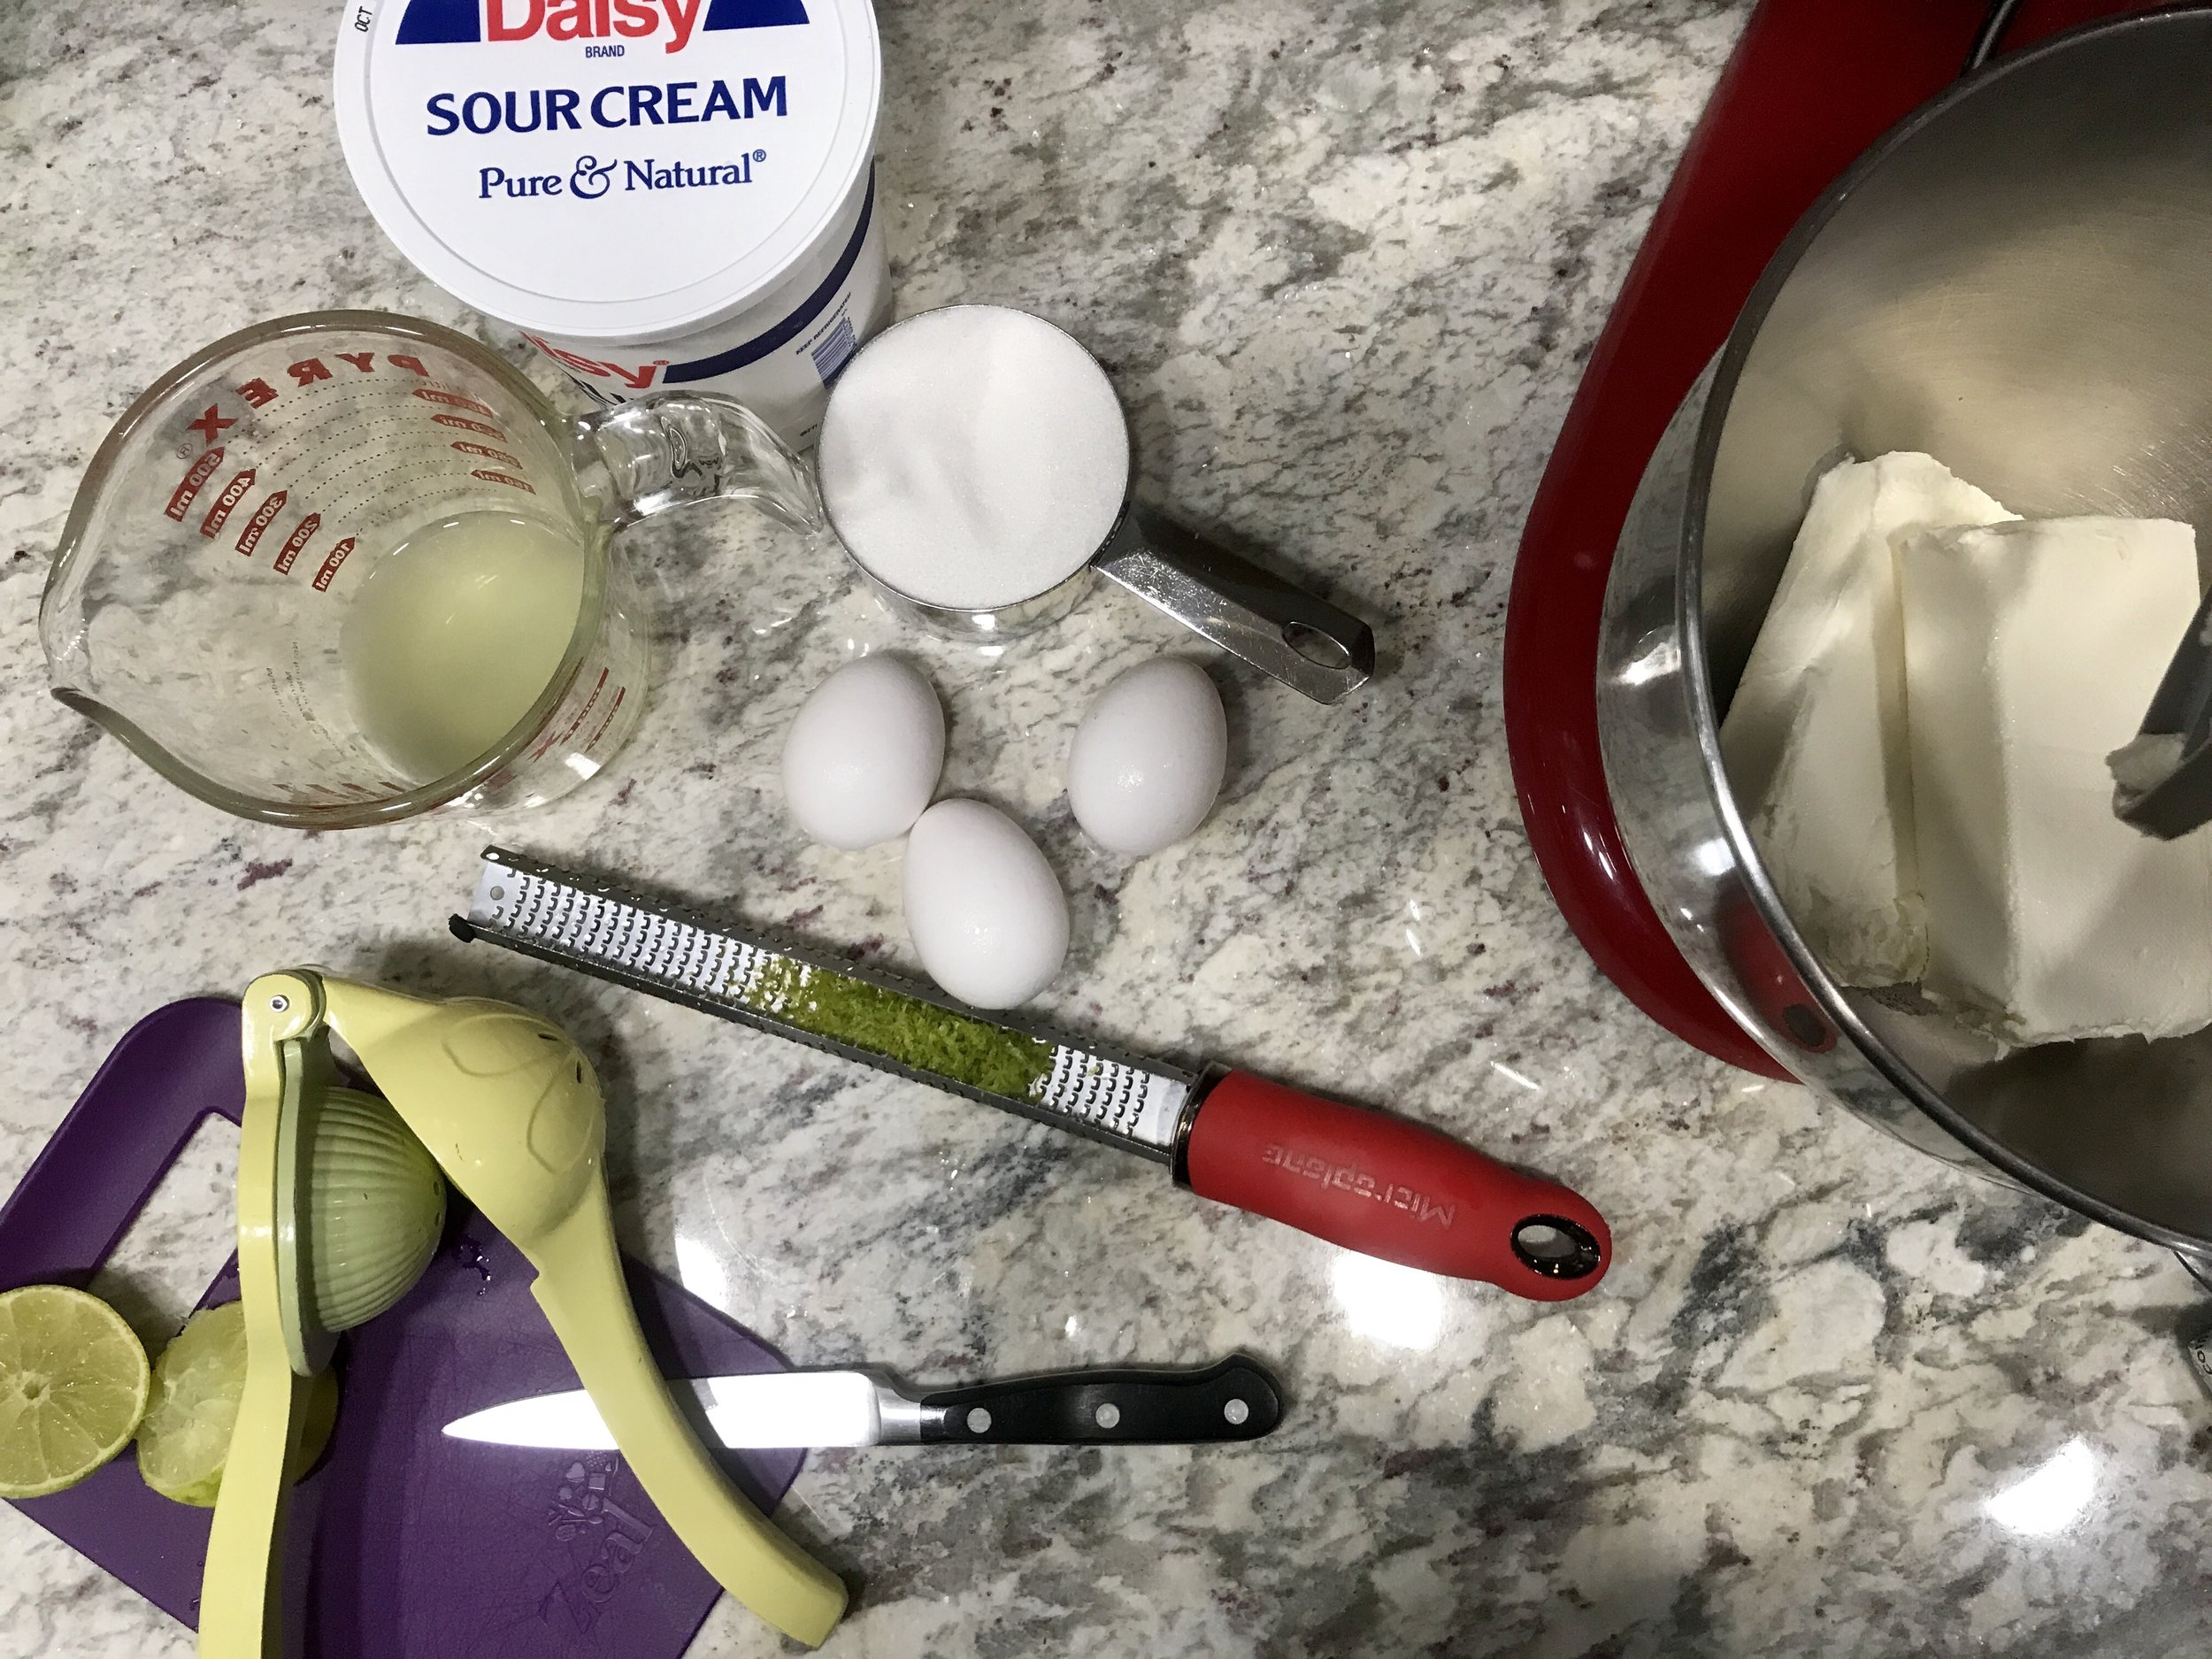
In a stand mixer, beat the cream cheese until smooth, about 3-4 minutes. Scrape the sides of the bowl once or twice. Crack the eggs into a small bowl and one at a time add them to the cream cheese. When an egg has been incorporated, add another. Scrape the sides of the bowl after each addition.

While the mixer is running on medium high speed, add the sugar slowly for one minute.

Scrape the sides of the bowl and dump in the sour cream, key lime zest and juice. Turn the mixer back on medium-high speed for one minute.

Once all incorporated, pour the batter into the baked graham cracker crust.

Place the cheesecake above the water bath and bake for about 45 minutes or until the cheesecake is slightly puffy around the edges and jiggly in the center. Don't worry the cheesecake will settle.

Don't turn off that oven yet. We still have the key lime custard to make.
AS SOON AS you put the cheesecake in the oven, start the custard.
In a medium saucepan over medium heat, whisk together the egg yolks, sugar, key lime juice and key lime zest.

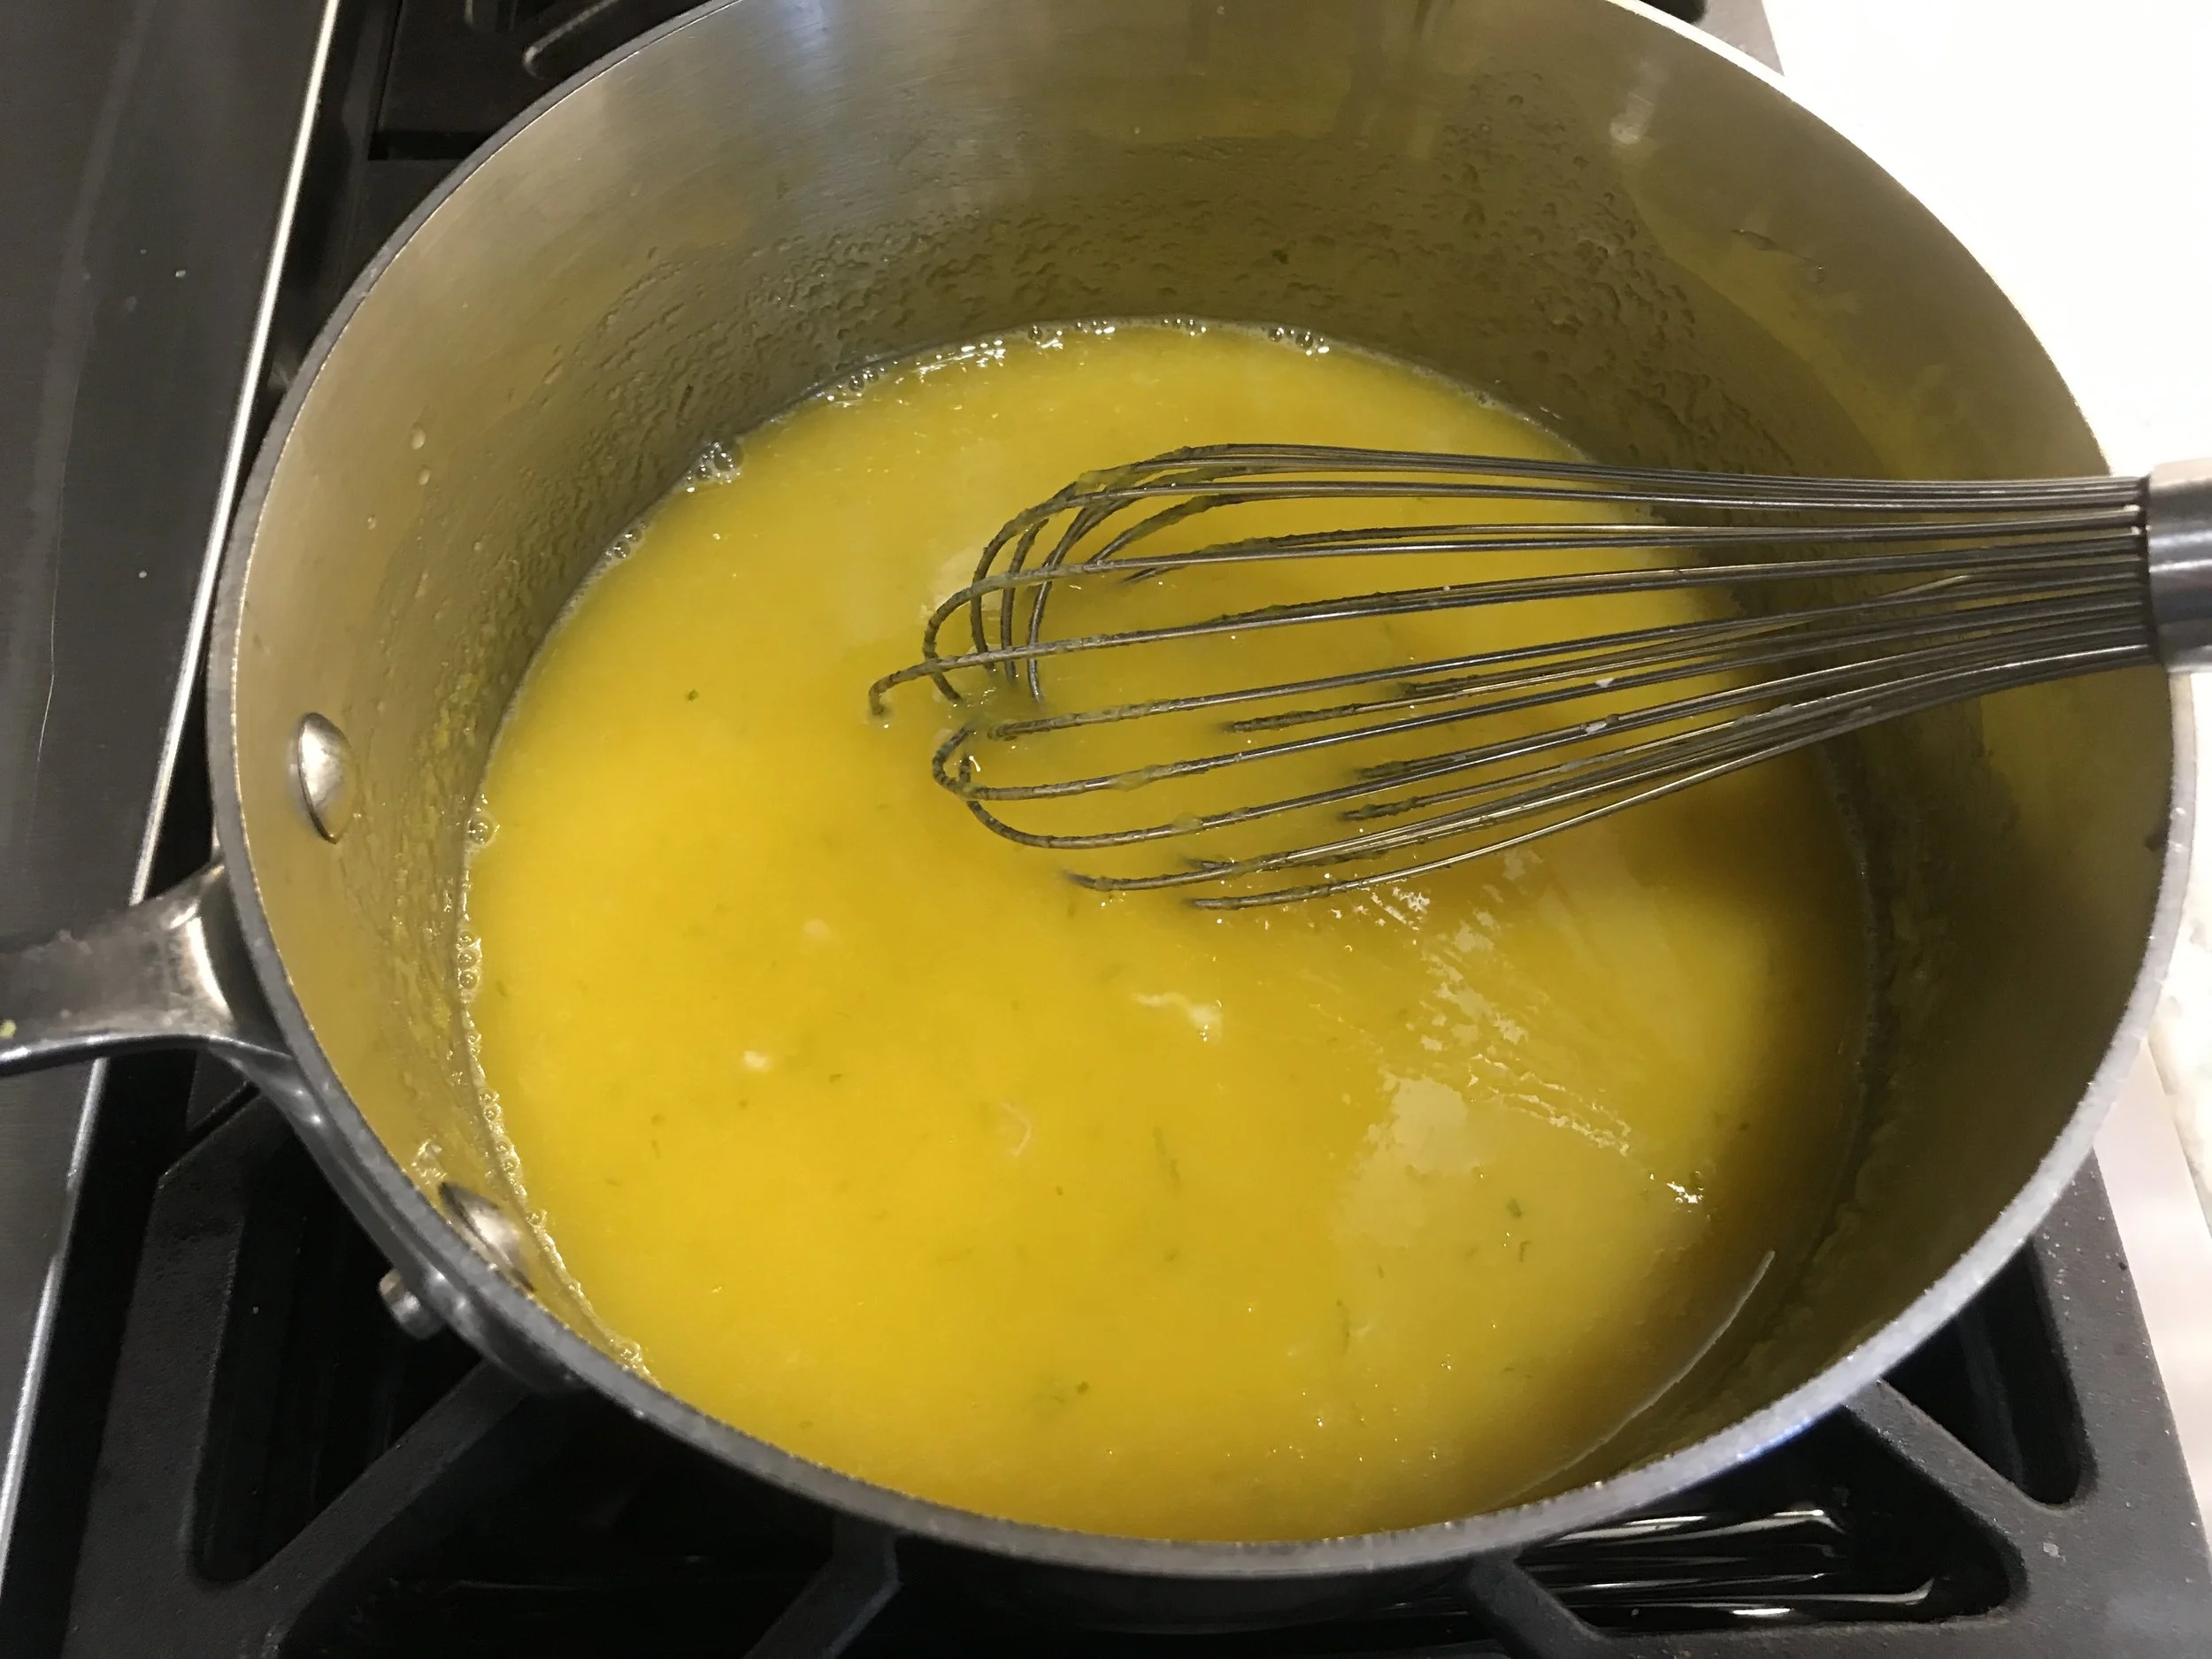
Use a wooden spoon to continuously stir the custard for about 8 minutes. When the concoction starts to thicken and boil, stir vigorously for 30 seconds and remove from the heat. Pour the custard into a small bowl to cool while the cheesecake bakes.

When the cheesecake comes out of the oven, carefully spread the custard over the top.

Bake the cheesecake for an additional 10 minutes or until the topping has set. In ten minutes run a flat knife or spatula around the edge of the cheesecake. This will help keep the cheesecake from cracking. Let the cheesecake cool to the touch and refrigerate for at least 4 hours, best overnight.

Time to make the cake look pretty. Once the cheesecake is cool, whip up some cream and slice some key limes. You can get 8 very healthy portions from one cheesecake or 16 perfectly acceptable slices. However, I am positive you will want the bigger piece!